Happy March, Renovation Stationers! We're marching right along here at casa de Corinne and Jesse. Big things have been happening: Our living room is finished, Jesse prepared the exterior of our house for stucco, our stucco was re-finished, and our master bedroom closet extraordinaire is in the process of being built!
Let's start off where we left you last time: the living room. We had a nasty crack in the ceiling and we decided to fix it the right way. We screwed up the ceiling on either side of the crack, for the entire length, then we dug out around the crack to expose it and allow us to put fiberglass tape into the newly created groove, then we filled the 3-4 inch groove with joint compound, allowing it to dry before applying texture to match the existing ceiling. Digging the crack out for 2-3 inches on either side of it allowed us to have a completely flat ceiling when all was said and done. Here's the process in pictures:
Jesse removes the ceiling material around the entire crack:
The area is taped, mudded, and re-textured:
New paint goes up and we finish the trim around the windows:
Painting the trim was hard!
Finished living room! Can you find the where the crack used to be?
We've been waiting a long time to have our house re-stuccoed. A long time. In fact, we'll have been in our house two years next Sunday! Jesse and I met with a few different stucco companies and decided on San Diego Stucco. They specialize in re-stucco and offer a 30-year, transferable guarantee on all their work. They were also negotiable in price...
We ended up choosing "Mesa Verde" after much discussion. It's the top middle color, below.
Before the re-stucco process could begin, Jesse had some work to do on the exterior of the house. We're eliminating the "rafter tails" and creating fascia that will run along the entire roof line of the house to give it a more modern look.
Here, Jesse cuts the ends of the rafter tails off to prepare them for the fascia:
We had some bad luck with rain, so we finished the fascia on the front of the house, but didn't get a chance to finish the rest of the house before San Diego Stucco came out. The first day was sandblasting and patching. I stayed home from work and boy was it horrible. Sandblasting was super loud and we ended up with a lot of dust in the house from all the movement. Here you can see some of the cracks that were exposed after the sandblasting:
Next it was time to patch:
There was quite a bit of patching to do:
Hard at work:
Here is what the house looked like when Jesse and I got home after that first day:
The next morning:
Another view:
Time for the color coat! They worked incredibly fast:
Here's the house when we arrived home on Day 2! All finished. The color coat will take about three weeks to fully cure and become an even color:
Here it is, almost two weeks later:
And now we are moving on to the other thing we've been waiting two years for: Master Bedroom Closet! If you know us, you know that we've been more-or-less living out of boxes since we moved in. We have most of the things that get used frequently in the dresser and second bedroom closet, but if we go climbing or out for a nice dinner, or some other not-so-frequent occasion, we have to go digging through boxes to find the proper attire.
Below is the final drawing of our closet!
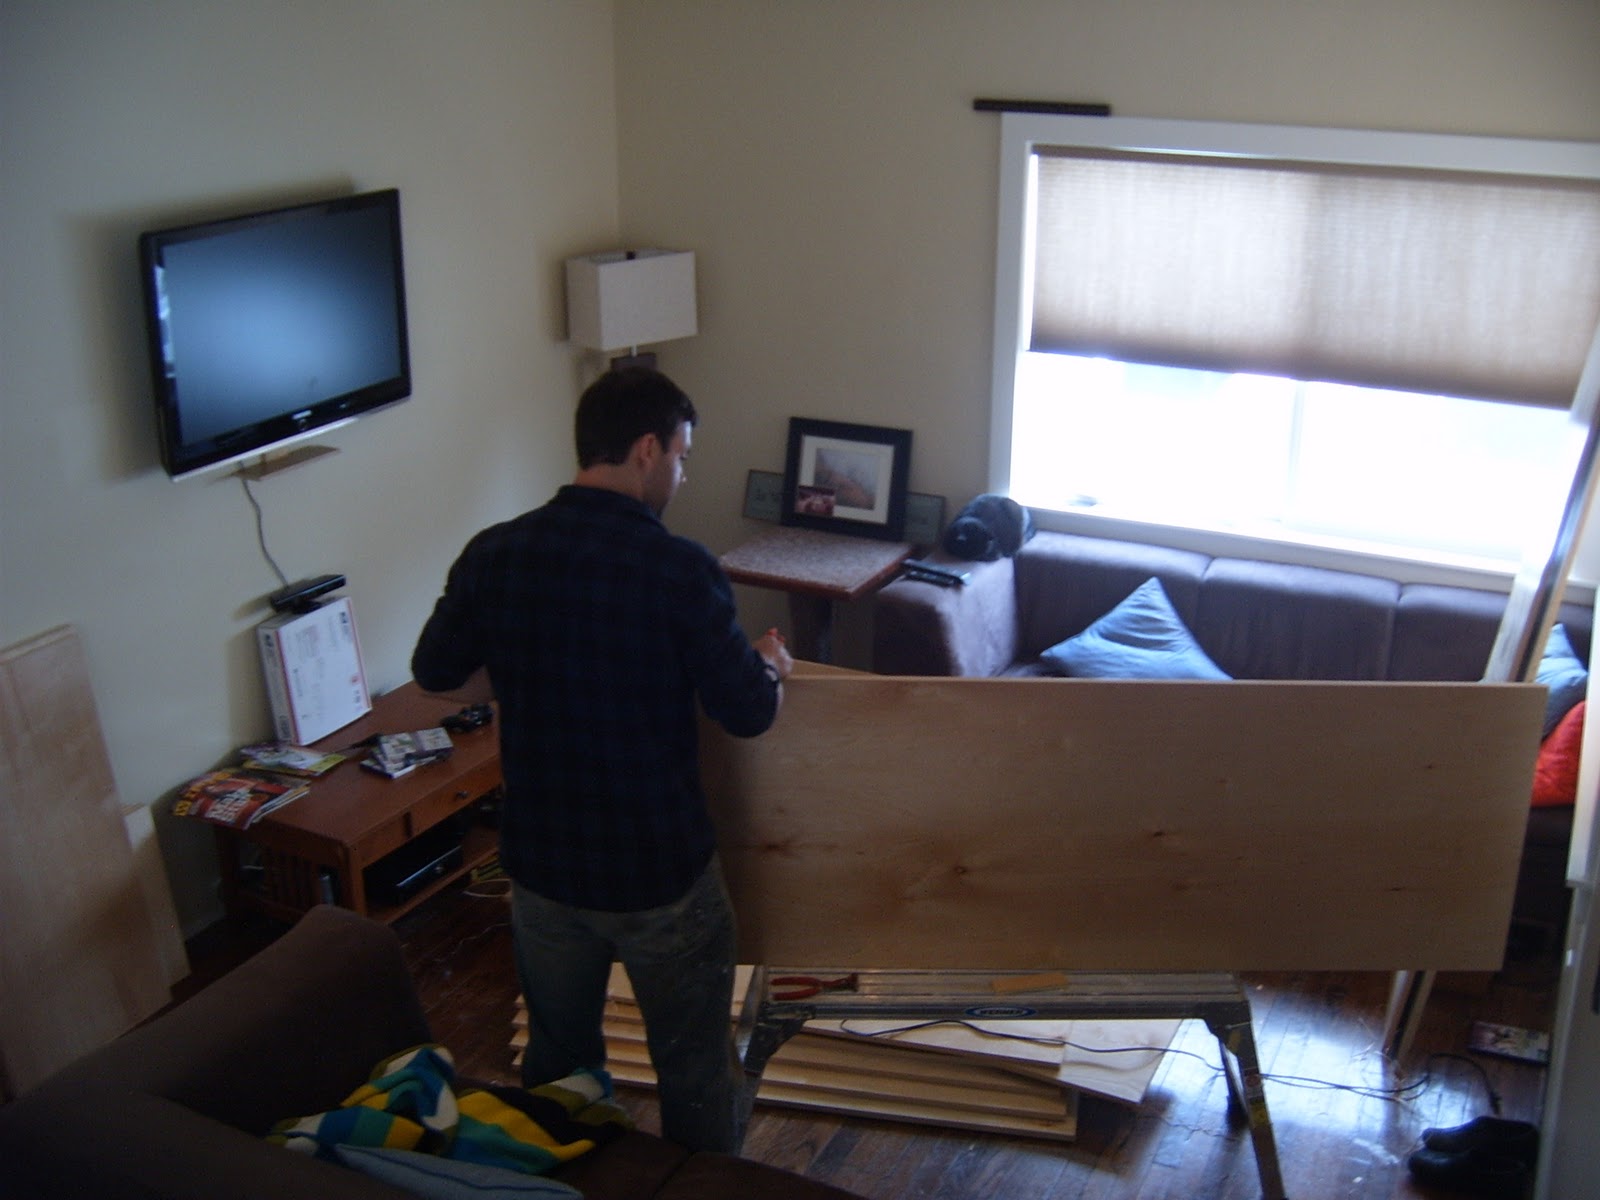
We went up to Frost Hardwoods last weekend to pick up all the pre-finished birch we'd need. Jesse spent the next couple of days making all the cuts. Then, this morning, we began the process of edge-banding all the cut pieces of plywood. Cheeba wanted to help:
We decided the living room would be the most comfortable place to work on it:
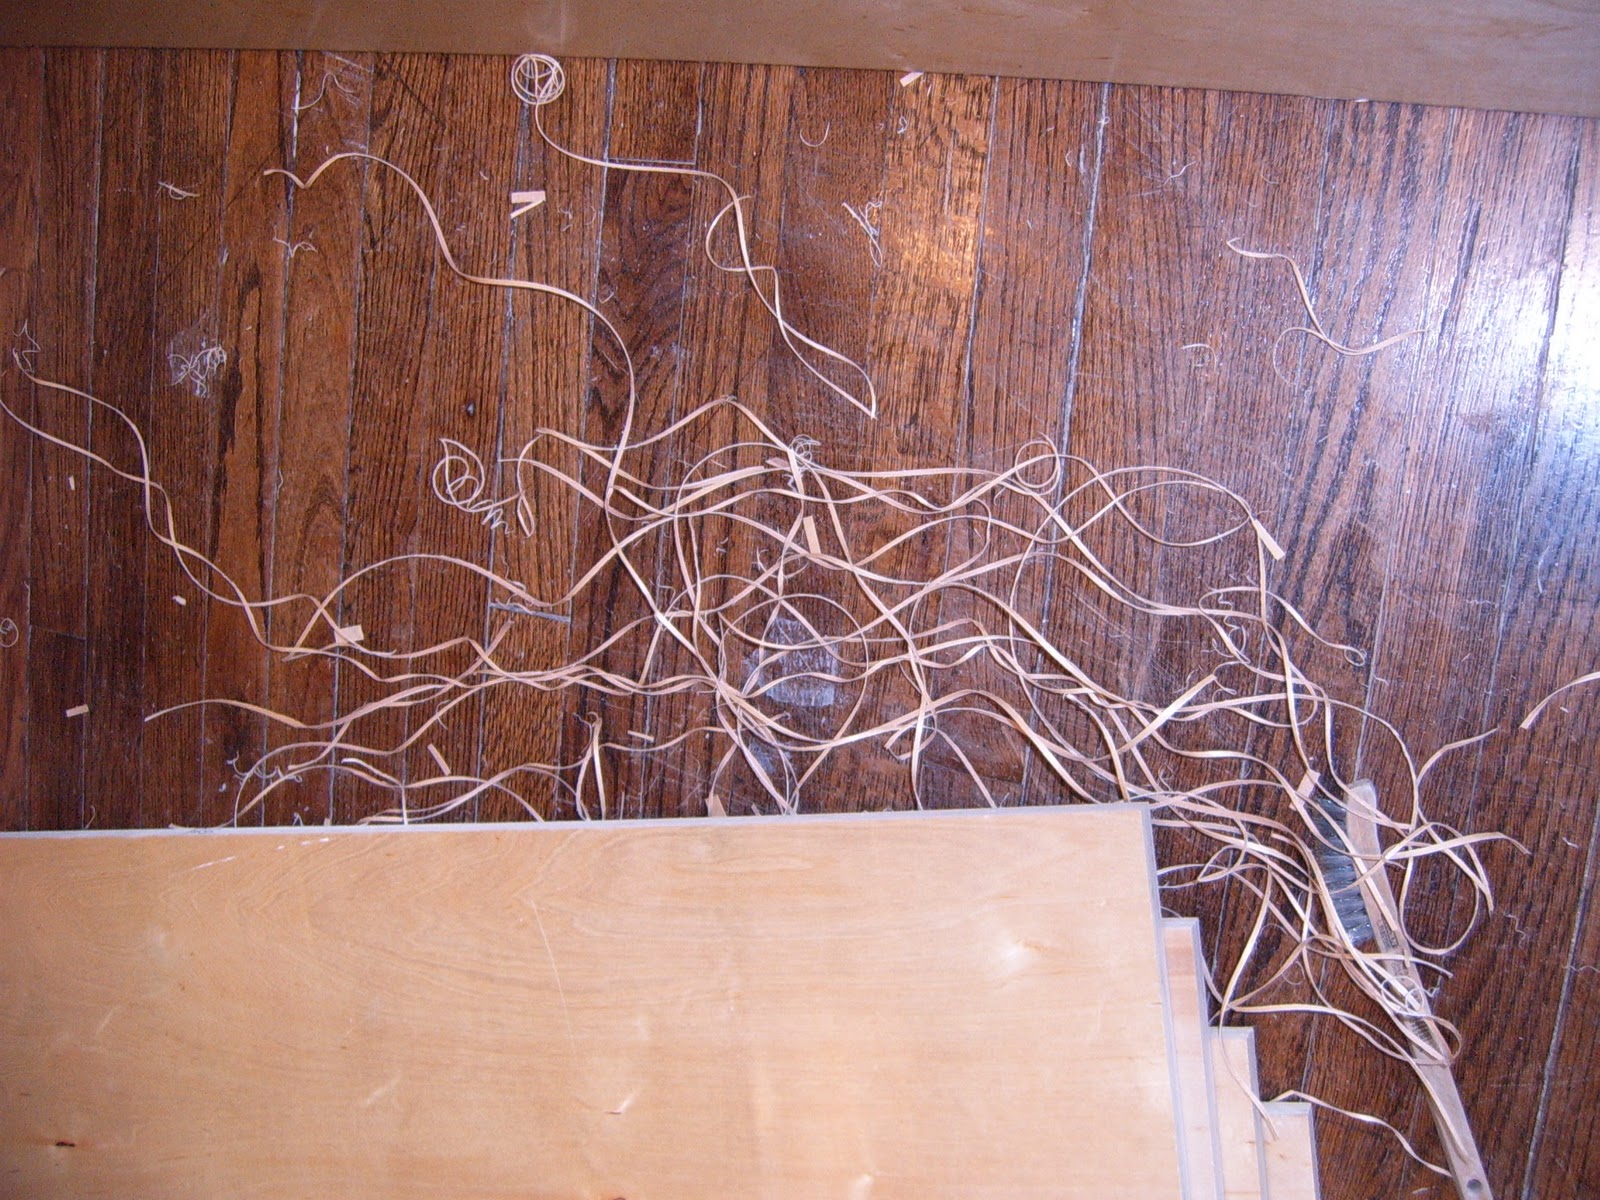
Jesse's job was to affix, mine was to trim and sand. Here are some of the curly trimmings that aren't lodged in my hand:
A view of the workshop:
Another view of the workshop and a better view of our new living room:
We'll take more pictures! It's really exciting here. Things are really really coming together. Our house looks more and more like a home every day. I couldn't have imagined all of this when we bought this house. It's beautiful and functional and it's all thanks to Jesse. His incredible skill and hard work have made all this possible. I feel like the luckiest woman in the world.
A few side notes:
Happy birthday to Liz!!!
Happy birthday to Keith!!!
We're hoping to finish up the house by early August, which is good because in early September, I'll be starting the SDSU/UCSD Joint Doctoral Program in Public Health (Epidemiology)! Jesse and I will be at the same school for one year, then I head off to UCSD for class work there.
 AFTER
AFTER

 We're going to be getting into the landscaping soon and it should start to shape up in a few months. We'll do before and after photos again once that's completed.