The inspector was not our usual Maria (who we love) but the substitute ended up not being as terrible as some have in the past.
Here's the "punch list" of things that need to be complete before our final inspection (due by July 18th)
Finish "brown" (middle) and color coat of stucco
Affix address to exterior of house
Complete trim and casing of garage-kitchen door
Water heater: overflow tube, shut-off valve for cold
Bathroom backsplash
Bathroom floor
Paint underside of roof addition
Most of it is easy -- the hard part will be the first item on the list. We'll be farming the stucco out to professionals and need to get going on the bidding process.
On to the photos!
Closet organization for our back-up closet in the second bedroom. It is currently functioning as our only clothes closet. That should be remedied when Jesse makes our master bedroom closet in about a month!

An update of the exterior of the house. The "scratch" coat of stucco has been applied. As mentioned above, we'll have professionals come to sandblast the whole house then apply the color coat.

We are now in the master bedroom. There was a lot to do before we could paint. First, Jesse removed the old window "trim," which was really just built-up joint compound -- about five inches worth!

This is the area above our new master bedroom closet. We created this space by taking a bit away from the living room. The ceiling was new style drywall -- but it had to be "floated out" to match the existing master bedroom ceiling.

The walls, although newly painted before we moved in, were in pretty bad shape. We think they weren't cleaned before the last paint job -- there was a lot of painted-over junk. All that had to be removed and gone over with joint compound to match. (I helped!)

We replaced the electrical in the entire house. To do that in rooms where we weren't opening up walls, we cut the bottom four inches off the existing plaster to access the wall cavities. All of that had to be drywalled, then floated out with joint compound to match the existing plaster. This will all be covered up with baseboard once we get the floors refinished (summer 2011).

Two of the walls in the master bedroom were new construction -- the walls that border the bathroom and the living room. These needed to be taped, mudded, and textured to match the existing walls.

The more we look up, the more cracks we find in the ceiling! This crack extended the entire length of the bedroom. Jesse screwed up the ceiling in a grid around the crack, then chipped out around the crack to lie "tape," then mudded over the tape and screws, then applied texture to match the existing ceiling. It's a lot of work but makes a world of difference!

Here is that same crack, now with texture over it. Once it's primed and painted, the crack will be gone forever! (It won't return because we screwed up the ceiling -- no screws in the 1940s.)

Existing walls are re-textured. Because Jesse is uber-thorough and wonderful.

Now that we're finished with the joint compound, it's time to prime and paint. We put resin paper down to protect the floors.

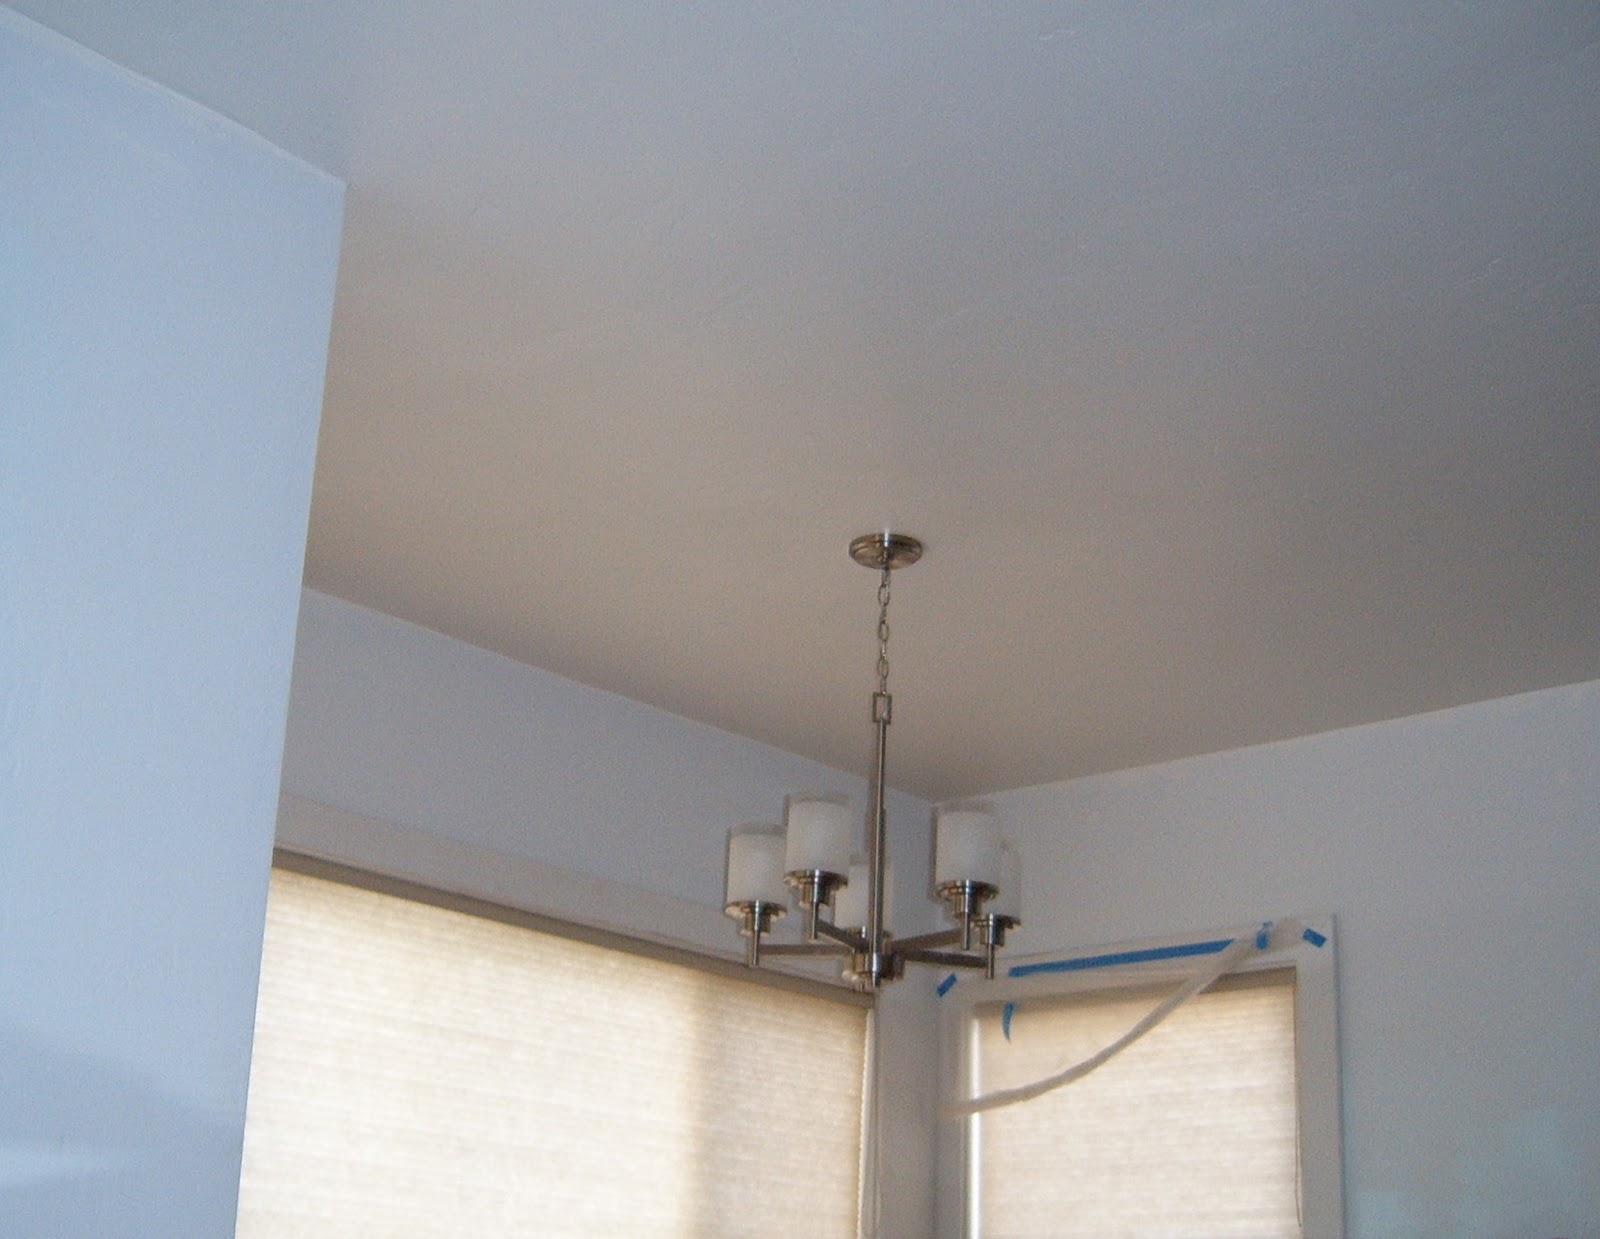
One coat of primer and two (and a half) coats of color later...

The master bedroom is functioning as dining room, office, and storage. Here's a shot of the office portion of the room.

On to the living room!
We emptied the living room and started the same process as above in there. Jesse got creative with some chipped paint:

Chipping away the paint to allow for nice fill in area.

Jesse is applying joint compound to mask the areas that were removed. Cheeba is in charge of quality assurance.

Even though he just installed it, not one year ago, Jesse did not like the placement of the light switches. So he moved them.

We stacked our two "L-shape" sofas on top of each other like Tetris blocks. Cheeba thinks it's her own personal cave/fort. I got in there with her and it was pretty great.

The end for now!