Corinne and I spent nearly 2 weeks in her native Western New York over Christmas, which was wonderful.
At our last update, we were working on the bathroom. Nothing else has happened in there, and we are still walking around on backerboard.
The outside of the house is nearly stuccoed, with just a few spots to go. Picture to follow when that is complete, hopefully in the next few days.
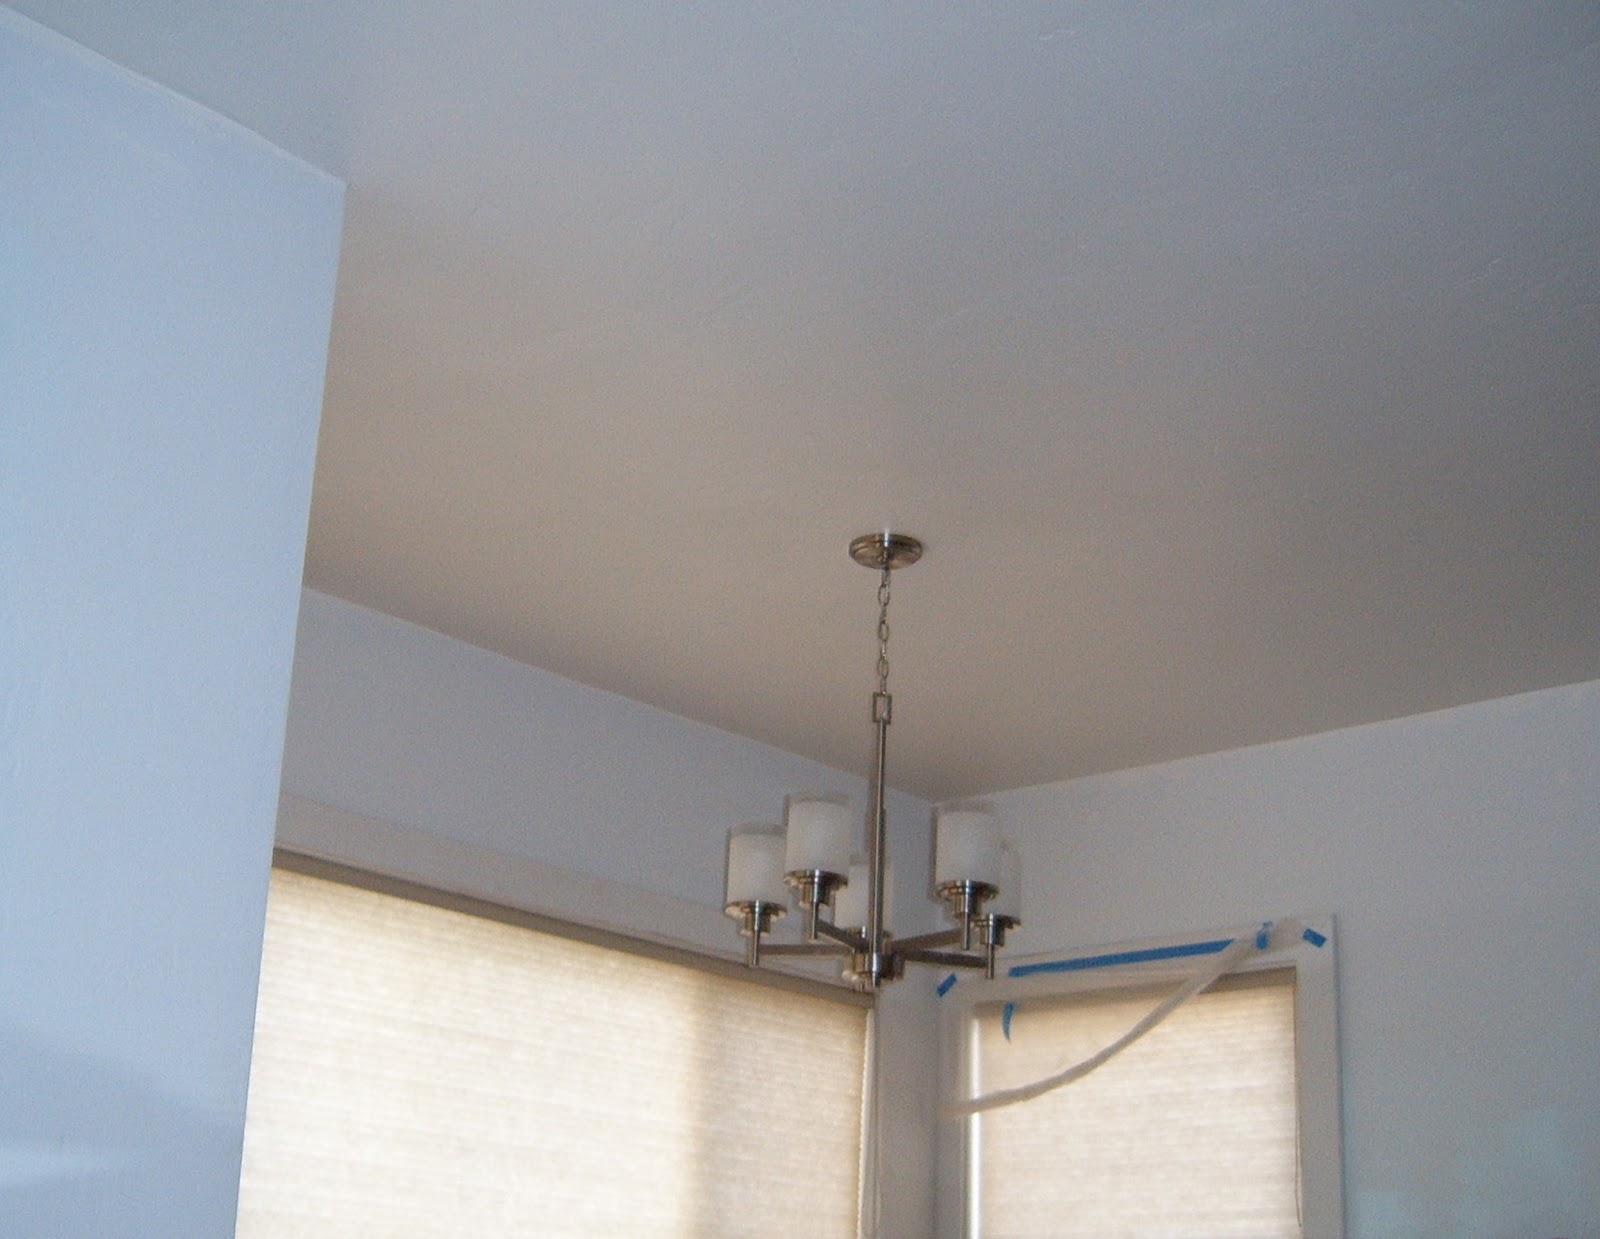
The dining nook is now taped and mudded and painted. This is a big deal and was a lot of work. The new drywall did not line up with the old plaster, and had to be completely floated out. The ceiling, only about 4' x 10', required about 4 boxes of joint compound, and in places is a full 1/2" thick. There is a chandelier now, too, which provides a lot of nice light.
The second bedroom is also looking much better. I floated, with joint compound, over drywall where a closet was, bringing the new surface flush with the existing plaster. Then I re-textured and repainted the entire room. Oops, no pictures of that.
I also added casing to the window in that bedroom, which I think looks very nice. This casing is just ripped and routed MDF, which is really cheap. This window used about half a sheet, which costs about $18.


Cheeba thinks it looks nice, too.

We have moved into the second bedroom for now, so I can work on the master bedroom.
Also, I repaired a hole in the flooring where a wall furnace had been, way back when.
Because we have hardwood flooring, repairing a hole is somewhat complicated. It is important that any joints be staggered, so that the patch is stronger and less noticeable. Making the cuts at the ends of boards, between 2 boards that are not getting removed, can be accomplished with a router and a straight edge. The straight edge I was using is a short piece of MDF, secured to the floor temporarily with hot glue on top of masking tape. This way there is no damage to the floor and I can just peel it up when its time to move. In the picture below, you can see a few such cuts have been made. The corners where the router couldn't go need to be cleaned up with a chisel.


No comments:
Post a Comment